Areas Overview
Page Contents
Every area has different enemy threats to be aware of, and different strategies for clearing, which will be covered in this page.
Each boss as extensive tech and will be covered on separate pages, with the gist of it being shared here.
As IDPD HQ can only be entered in L1-L2 it is not listed here, as well as Jungle due to how infrequent runs would include it at this point of the game. (Campfire strategy as a whole will be on the bosses page)
At the end of each section there will be screenshots previewing a sample generation from Loop 10. Generations can wildly vary, this just gives a general idea. Images are clickable to open in full size. Ctrl+click opens it in a new tab. Images were created using fullview mod.
Desert strategy
Desert generally are levels that go by quickly and are not high risk, with the exception of the Big Bandits fight. SPC can be spammed pretty frequently here, while ushov cleans up extra anemies and gets rid of projectiles.
One smaller threat to be aware of are Flies, particularly on 1-1. If Throne 2 fight is exited without the proper ammo then ushov will need to be used solely, and Flies do not give ammo drops; only a small chance of weapons. Due to their aggressive nature and high contact damage they can kill underprepared players at spawn.
Due to iframes the other two notable worries are Assassins and Snipers. If they take any damage from wall debris or enemy corpses this will trigger iframes, and if Ultra Shovel is swung at the exact same time then the melee damage will be ignored. Then either the Assassin can get a free hit, or the player may swing again at a Sniper while walking closer, and could take explosive damage.
| General Threats | ||
 |
 |
 |
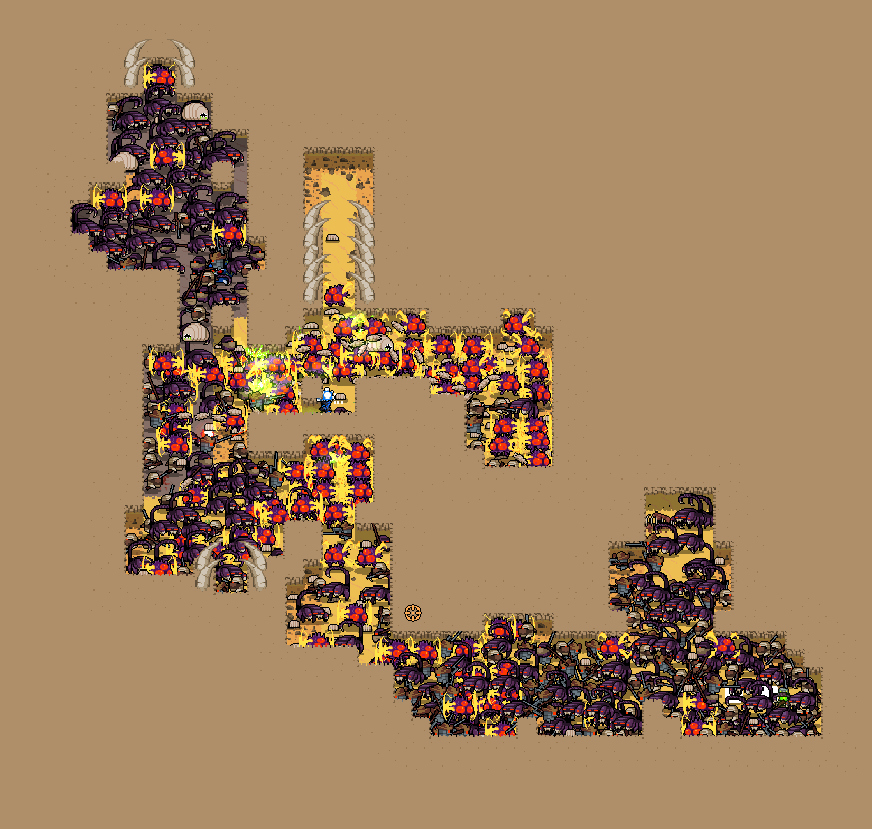
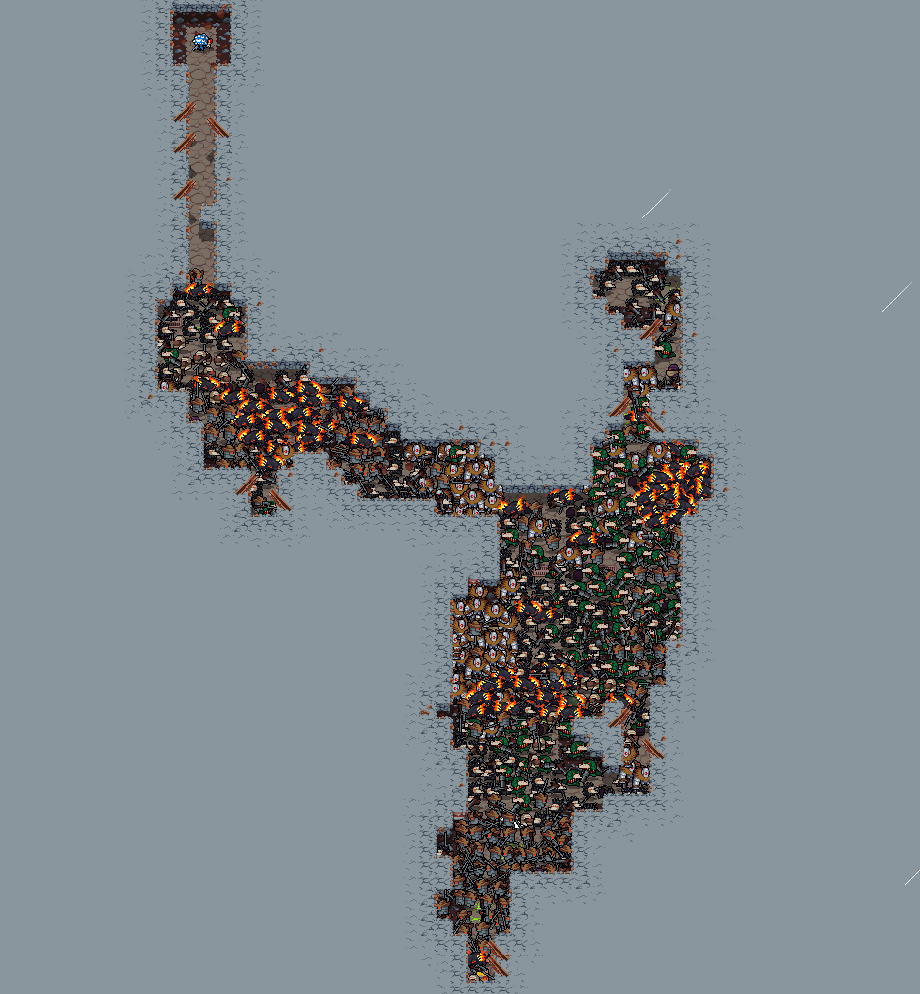
| 1-1 A generation with multiple branching rooms. |
1-2 A very tall level generation. |
1-3 A generation split with a bottom/top area. |
 |
 |
 |
Sewers strategy
Text
| 2-1 Text |
 |
Scrapyards strategy
Generally put Scrapyards is one of the easiest areas to clear in deeploop. There's many low-HP enemies that are cleared out very quickly with SPC, with ushov cleaning up the rest.
The main concern is if the player is pushing too quickly, iframes can help enemies slip through ushov swings leading to surprise damage.
| General Threats | ||
|
|
 |
Assassins are one threat to keep an eye out for as they can 'slip' through ushov swings. This typically happens while charging at the player and gets hit by a corpse right before they enter the ushov's range, causing for free damage.
As for Snipers while they are much more stationary enemies, can punish the player if pushing too quickly. This happens if the first ushov swing causes a corpse to damage a Sniper barely out of ushov's range, and then the second swing happens while the player is running directly towards the Sniper, putting them perfectly in range for explosive damage.
One of the bigger threats would be Buff Gators. (Explain how their damage melts HP, and can kill through Spirit rarely.) Along with surviving through iframes, they can also 'sneak' up on the player easily and firing with little reaction time.
For the most part Scrapyards isn't an issue as SPC will clear out most enemies quickly, and Snipers will help clear out enemies through chain exploding each other, just be particularly aware of clearing enemies in close range such as in tight corridors.
Popo spawns can be a bit unpredictable as it's hard to gauge how many enemies are left with the often maze-like generations for 3-1 and 3-2. Some situations can lead to being cornered by Vans, so have a general escape plan in mind any time Popo Freaks start spawning in.
3-3 is always an open area and most of the level can be cleared very quickly, so be aware that Popo Freaks and Vans will usually start spawning in very shortly into the level. Most SPC attention can be focused on Big Dog once seen while clearing out the rest of the level, using ammo drops to fuel more damage.
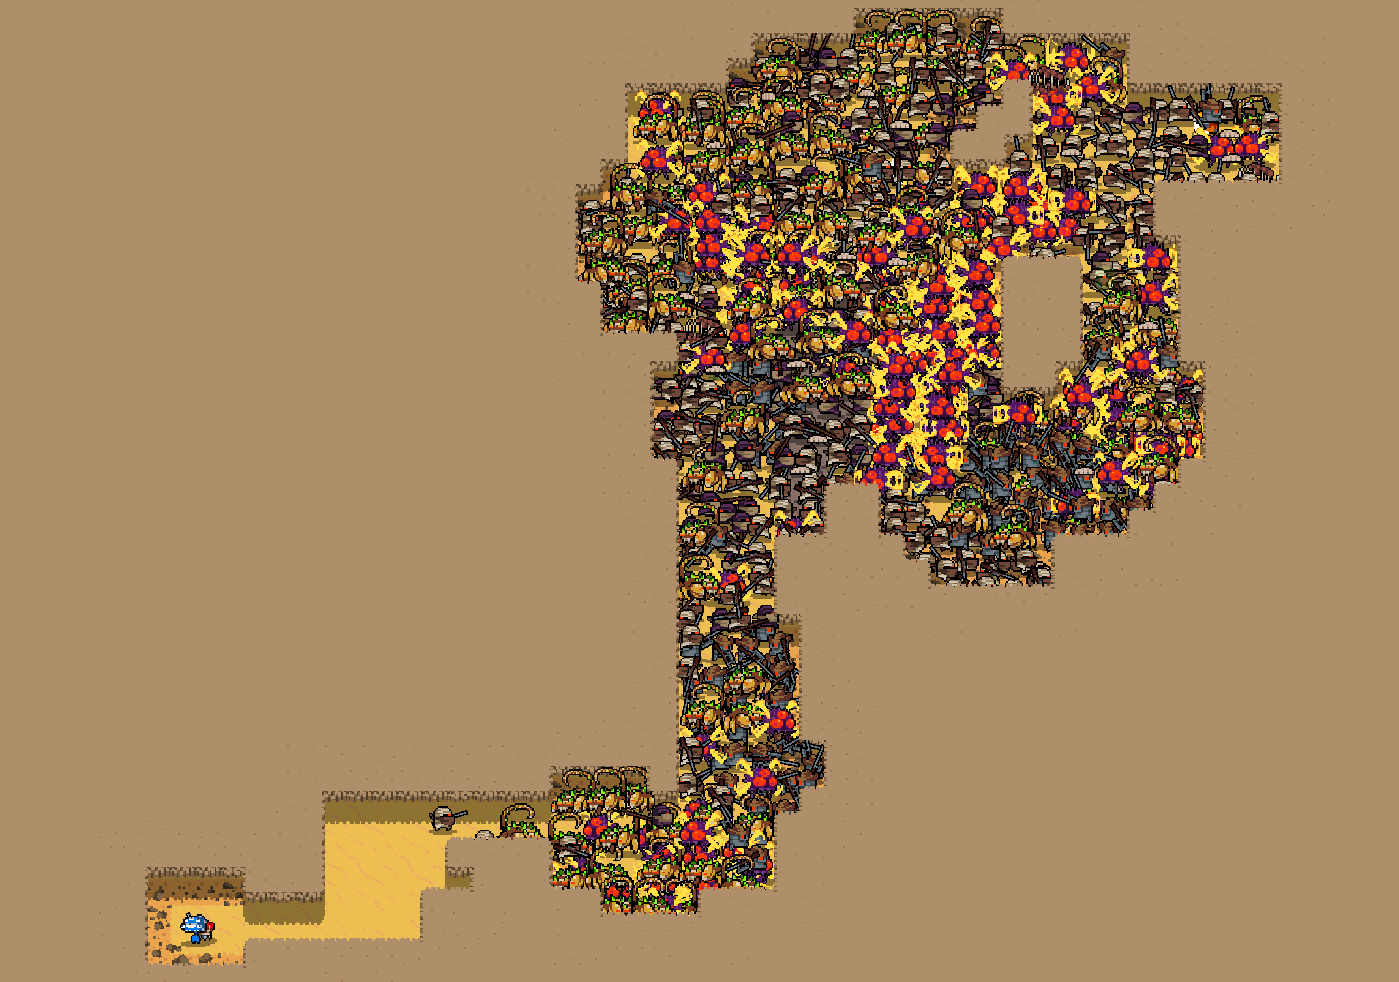
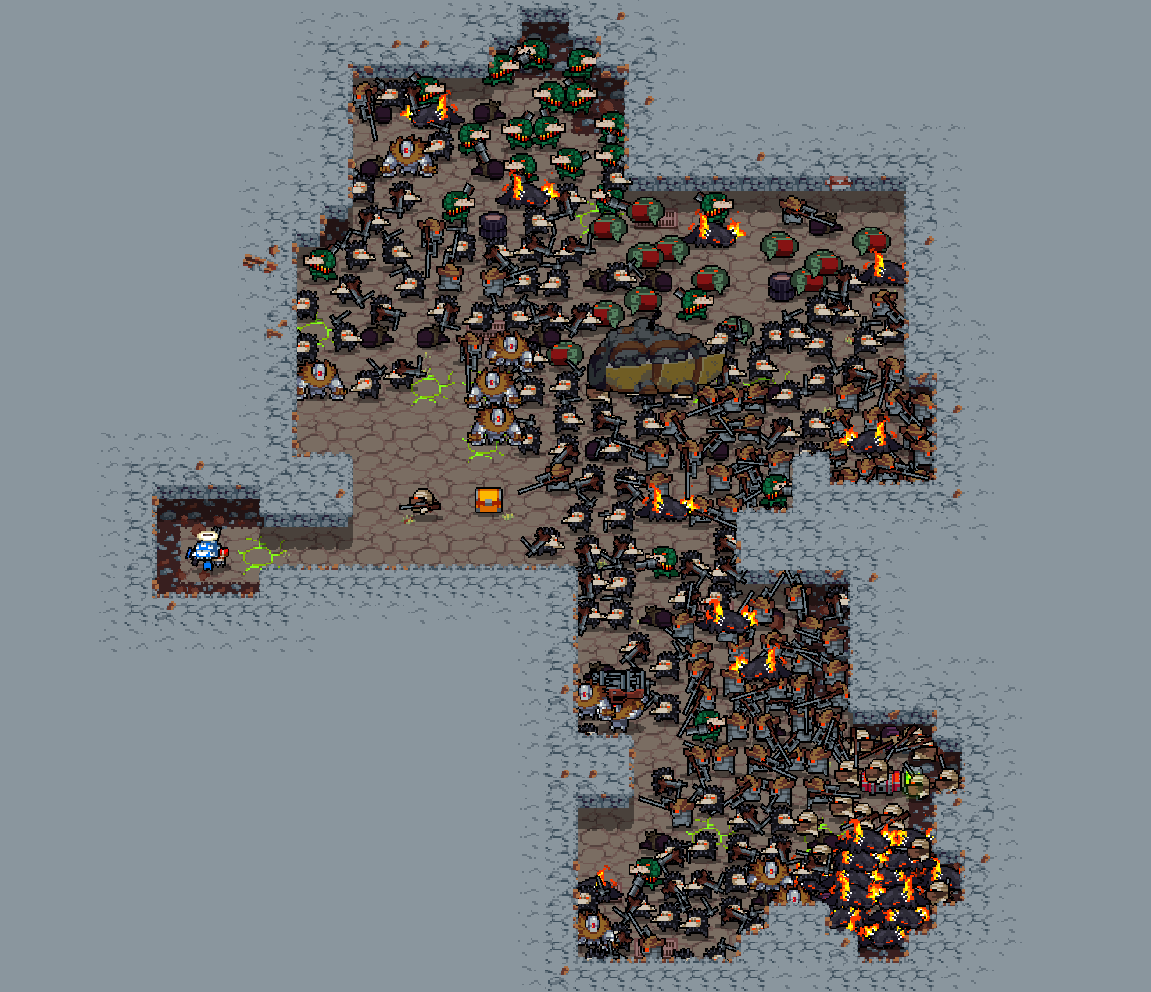
| 3-1 A generation with branching rooms. |
3-2 A very tall generation. |
3-3 A very typical open generation. |
 |
 |
 |
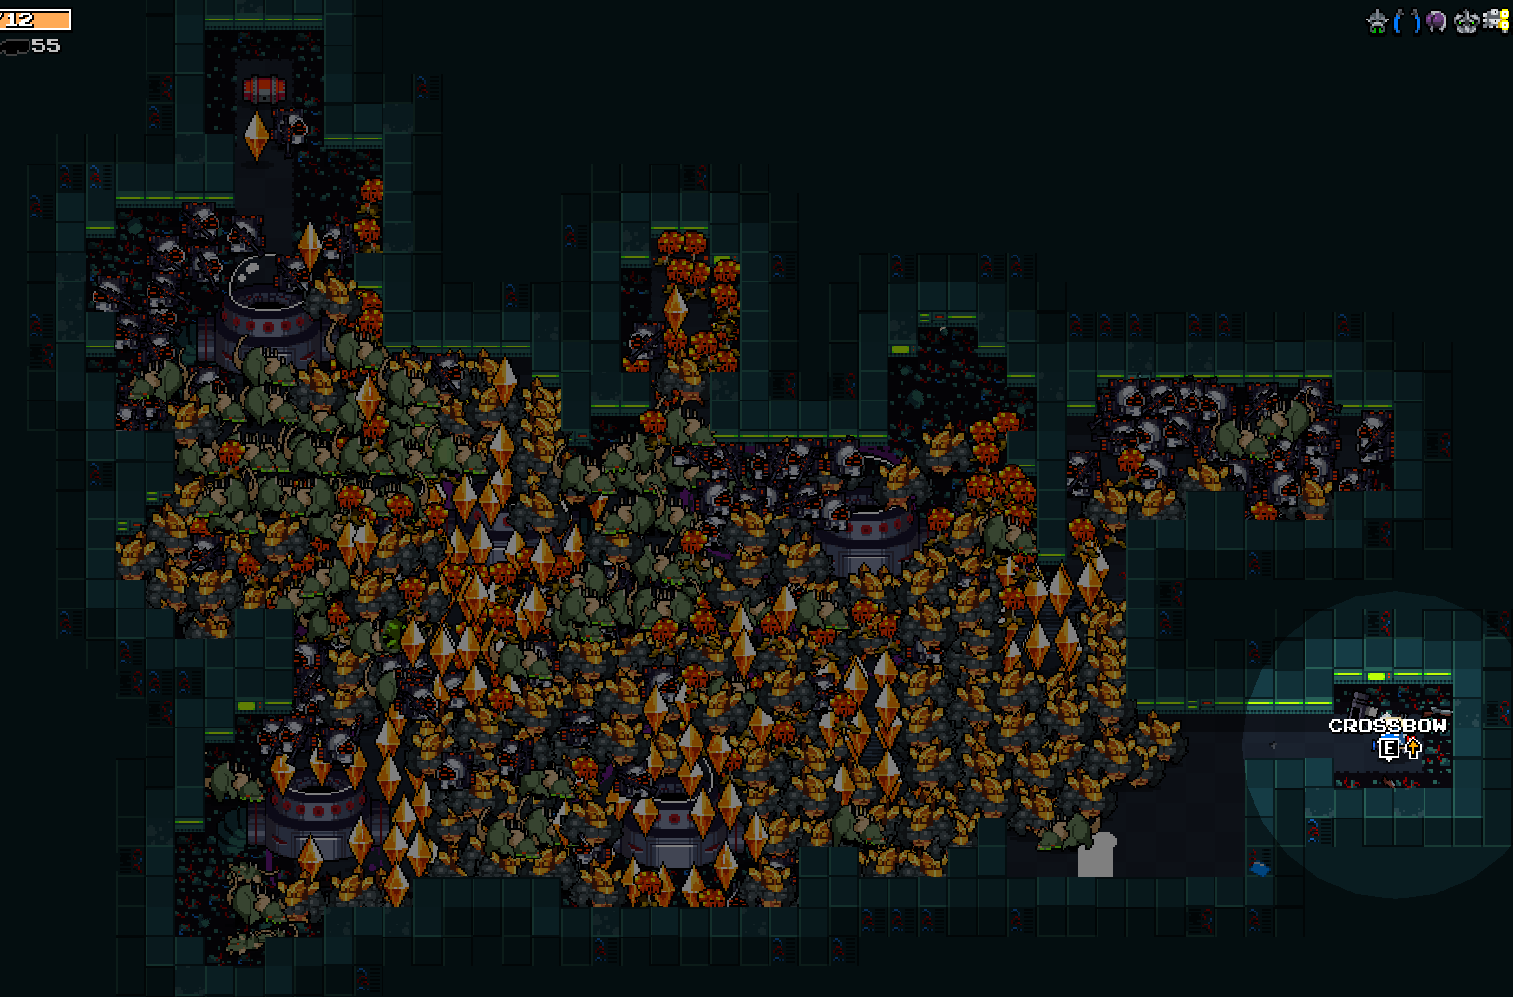
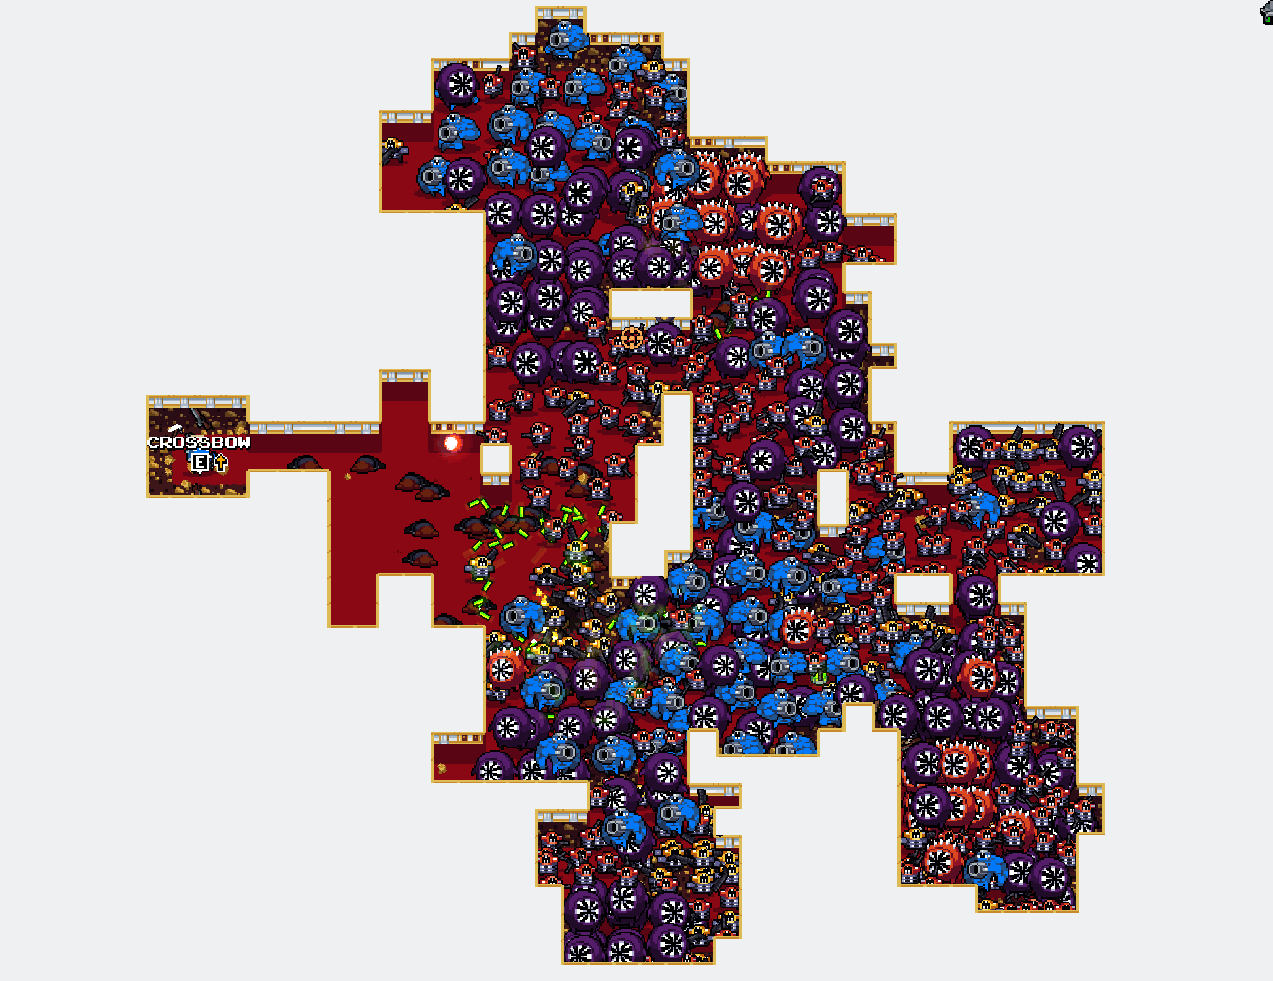
Crystal Caves strategy
Text
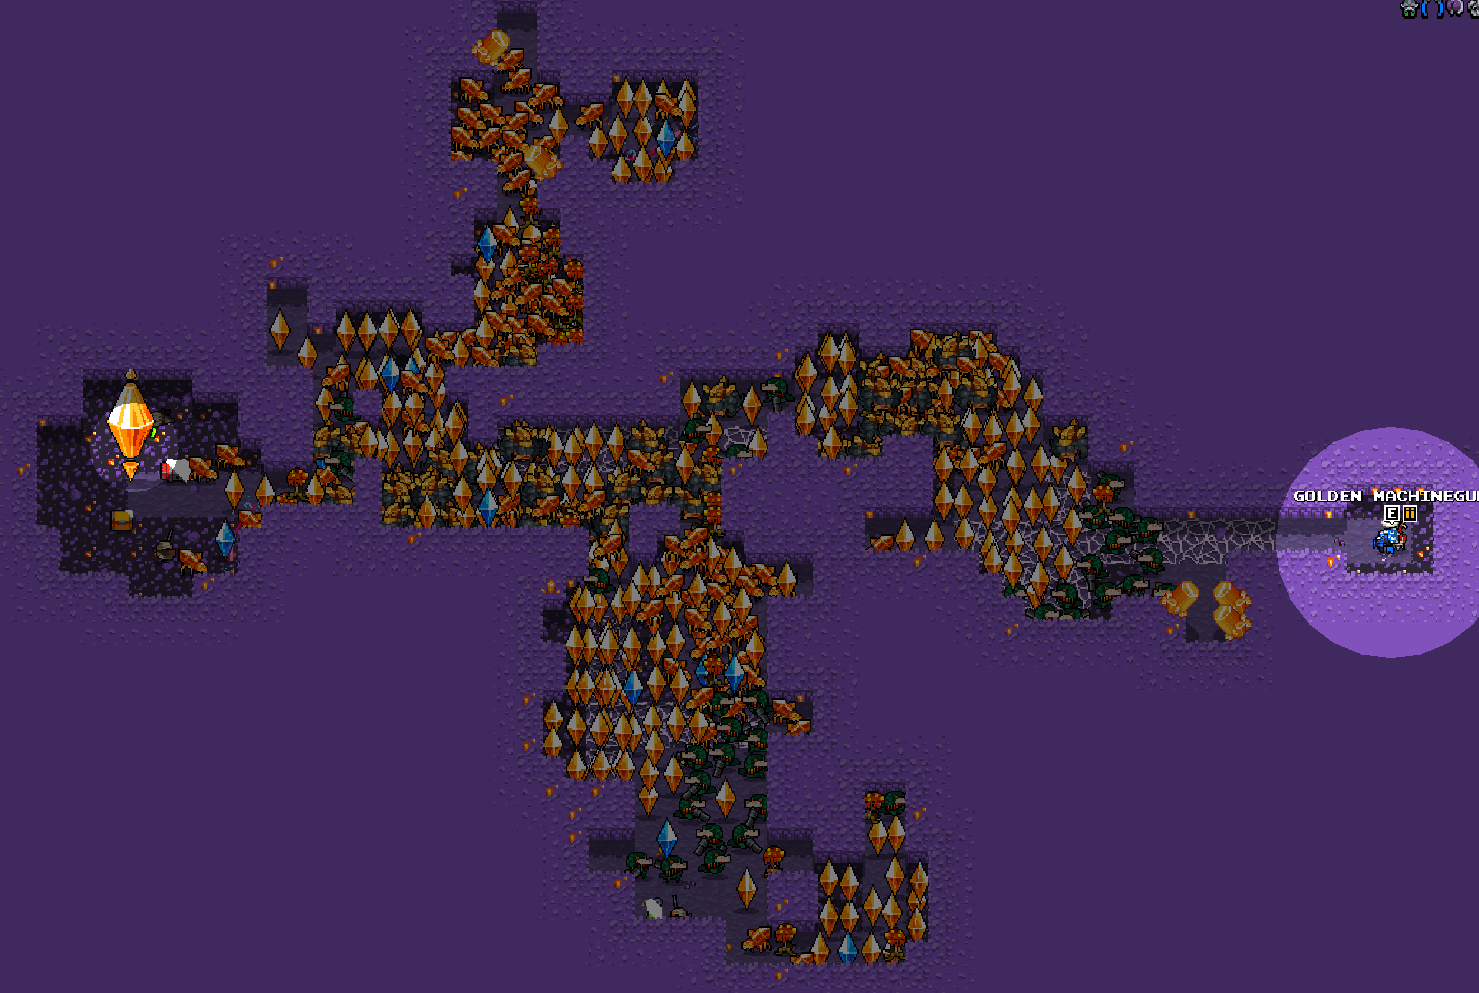
| 4-1 Text |
 |
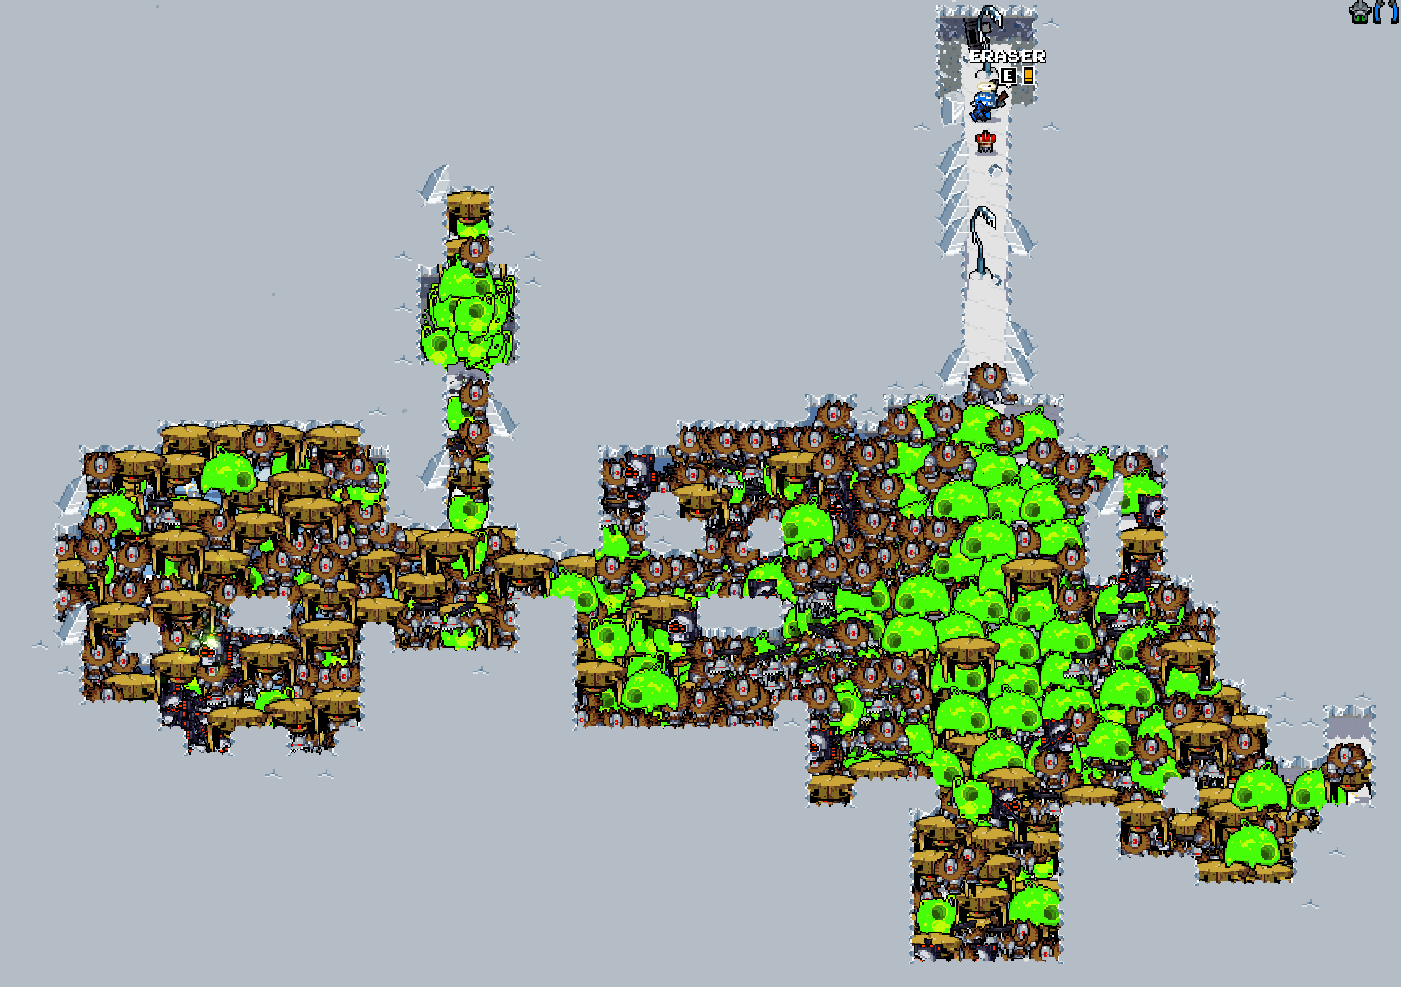
Frozen City strategy
Text
| 5-1 Text |
5-2 Text |
5-3 Text |
 |
 |
 |
Labs strategy
Of the normal areas, Labs is generally the easiest using meta. Due to the volume of enemies and pickups, SPC spam is very viable here just like in Frozen City, while in general having far less risk.
The only threats here are outlined in Caves being Explo-Freaks and Laser Crystals, which can cause an immediate Spirit drop if either survives through iframes and the player walks into on accident. Laser Crystals attacks can also melt HP ignoring player iframes.
| General Threats | |
 |
 |
Generally these are not an issue as Explo-Freaks can chain explode each other, and SPC spam just clears the level extremely quickly. Technomancer is an extremely low-risk boss as well and SPC can be directly fired over it as it cannot harm the player directly in any way.
Labs can sometimes be cleared quickly or takes a while, it all depends on generation. Popo Freaks and Vans can sometimes spawn all at once, while other times may have spread out spawns due to the enemy density. Normal Freaks have a tendancy to get stuck in side rooms, so sometimes Popo Freak respawn cycles has to be cleared out multiple times while looking for stragglers.
Due to generation calculations there can be a decent chance that normal Freaks do not initially spawn at all in later loops being replaced with the other enemy types, becoming increasingly common later on.
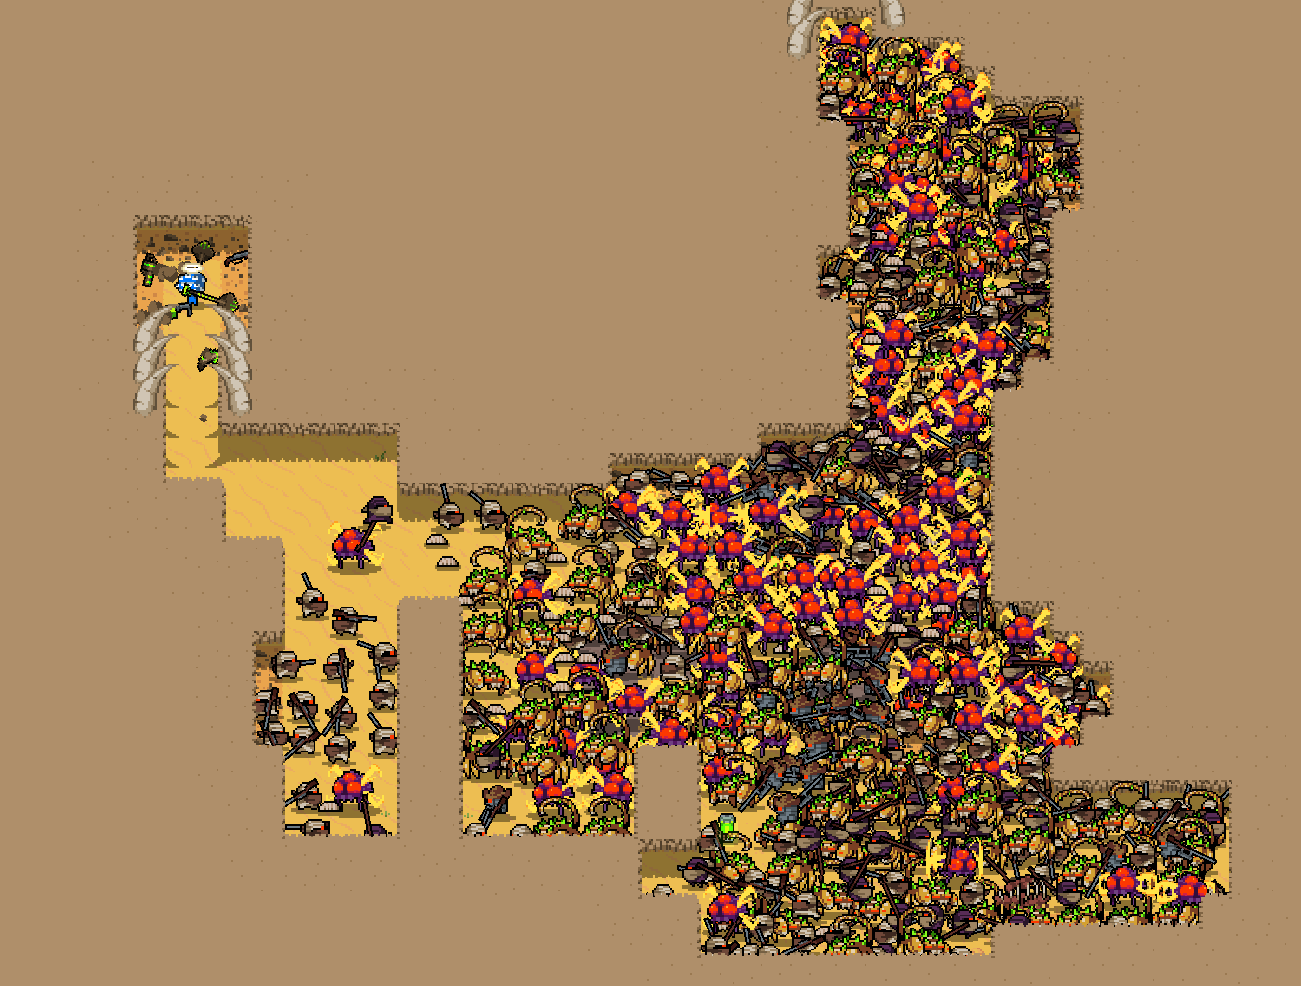
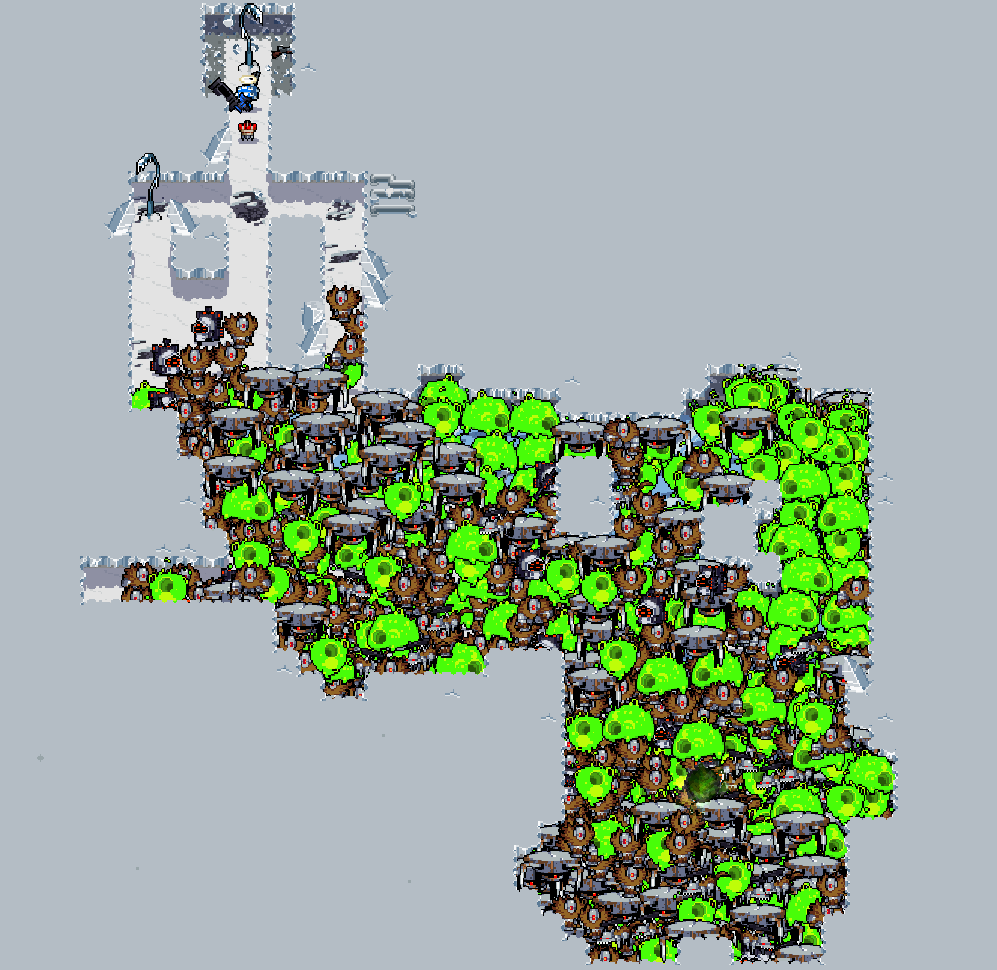
| 6-1 A very open generation. Due to chance, no Freaks initially spawned. |
 |
Palace strategy
Text
| 7-1 Text |
7-2 Text |
7-3 Text |
 |
 |
 |
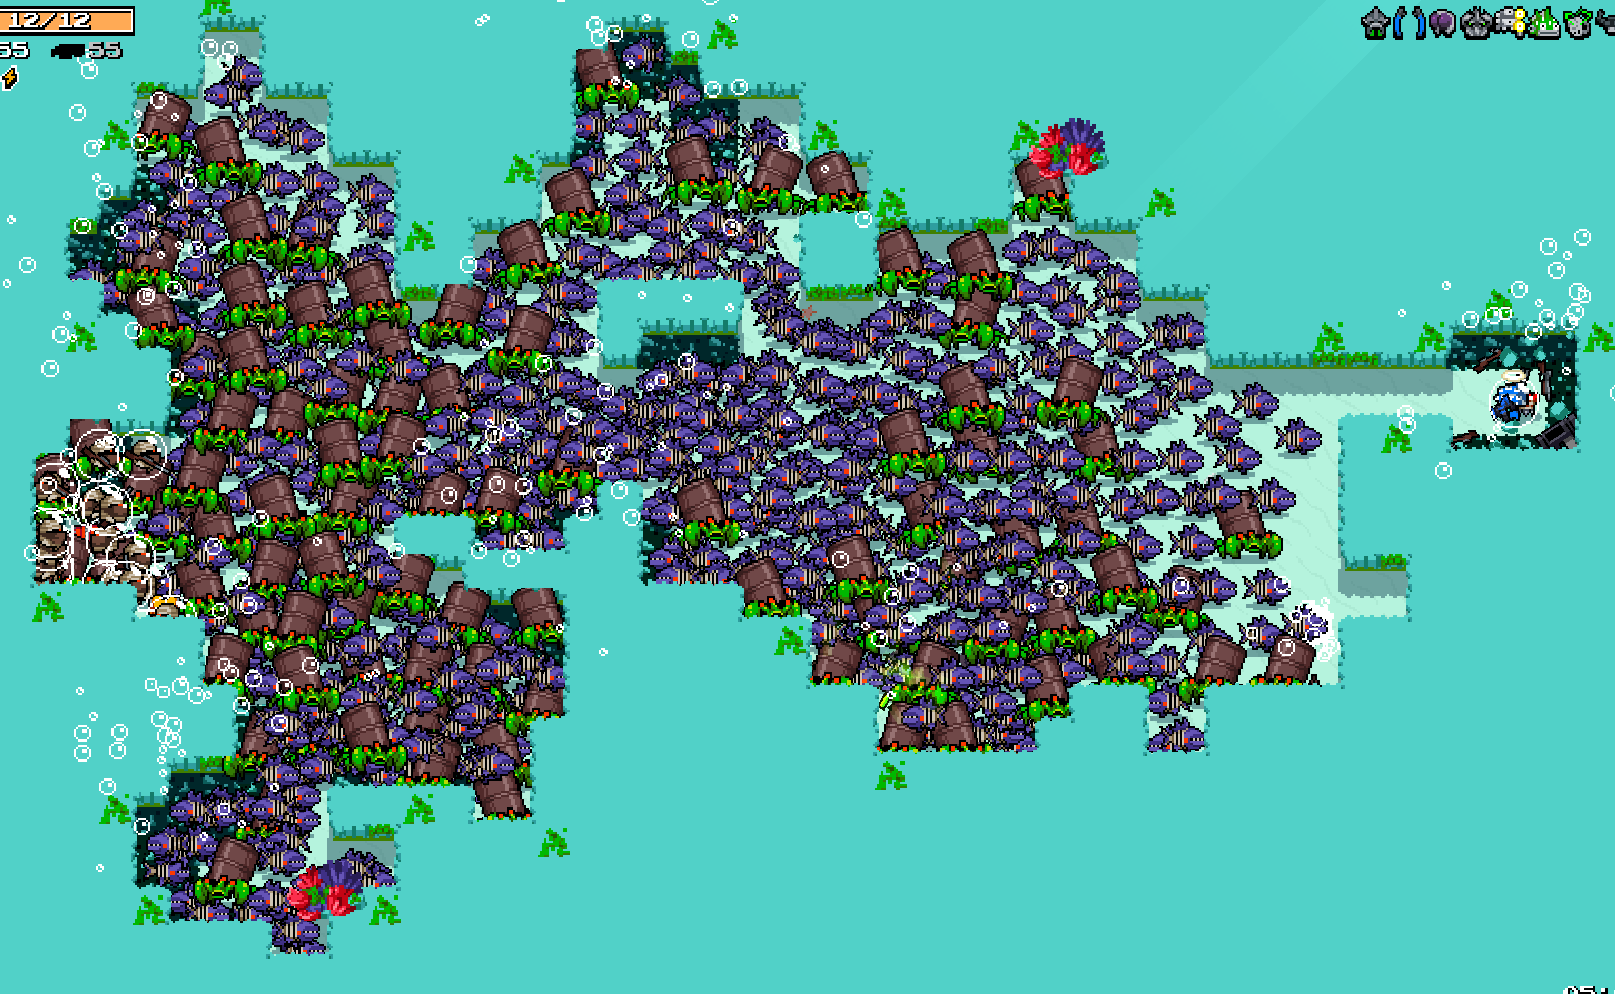
Oasis strategy
Entering Oasis:
Oasis enemies do not provide a challenge in deeploop and is easy to clear, however the initial sound of Vans spawning in is removed completely here, making it possible to get taken from surprise. This is the only threat to worry about, so once Popo Freaks are killed be moving vertically avoiding Van spawns, with SPC ammo to dig into a wall as necessary.
| 1-? A typical spawn with some branching rooms. |
 |
Pizza strategy
Entering Pizza: The manhole that spawns can be opened by any explosive, but only will work once Mom is defeated. Any explosive weapon works with the exception of Jackhammer/blood/flame weapons, otherwise Popo Freak grenades or Van explosions can be used if the level is still on-going. Some enemies can be purposefully left alive in a corner to purposefully not let the level end to allow for Popo Freaks to continuously revive until they drop grenades that open Pizza Sewers - ushov can help knock the grenades in place.
(Chicken/Eyes can bring weapons between levels easily to ensure pizza entrance, while Rogue can use her active/passive to freely enter.)
Finding the manhole itself can be difficult at times due to the amount of enemy corpses on the floor. It has a tendancy to spawn underneath weapon/ammo chests and should be the first place checked. It will always spawn on grey floor tiles, so green ones can be ignored. (There are rare chances for Sewers to be fully green-tiled, and most likely prevents the manhole from spawning at all.)
Pizza Sewers itself is usually a free area as the enemies are low risk. Popo Freaks and Vans will start spawning once the few enemies are cleared out, which all happens very quickly. Some accidental deaths has been caused before as there are many Vans spawning in an enclosed area.
If wanting to be careful, keep full SPC ammo and only use it to dig into walls once Vans start spawning in an unavoidable way while near the top/bottom of the level. The Vans will easily give enough ammo to refill SPC for the next level right away.
| 2-? Random sewer-like layouts, but always the same 5 enemies to start with. |
 |
Mansion strategy
Entering Mansion: The broken down car only spawns in with 25 HP thus is particularly fragile, and is usually destroyed before the player even comes across it either due to SPC or multiple Snipers blowing up around it as they tend to back into corners. In order to not break the car, 3-1 should be cleared with mainly/entirely ushov and if IDPD spawns the player should back up towards spawn - only going to fix the car once there is a safe opening. Fixing the car will set it to 47 HP, so it will even survive a full hit from Energy Screwdriver with Laser Brain, however it will be very close to destruction and should be entered swiftly.
(Similarly to Pizza, Chicken and Eyes can bring screwdrivers inbetween levels to ensure entry. And similar to Oasis, Ultra Crossbow can also be brought to dig around the level to safely hit the car before IDPD spawns.)
Text
| 3-? Text |
 |
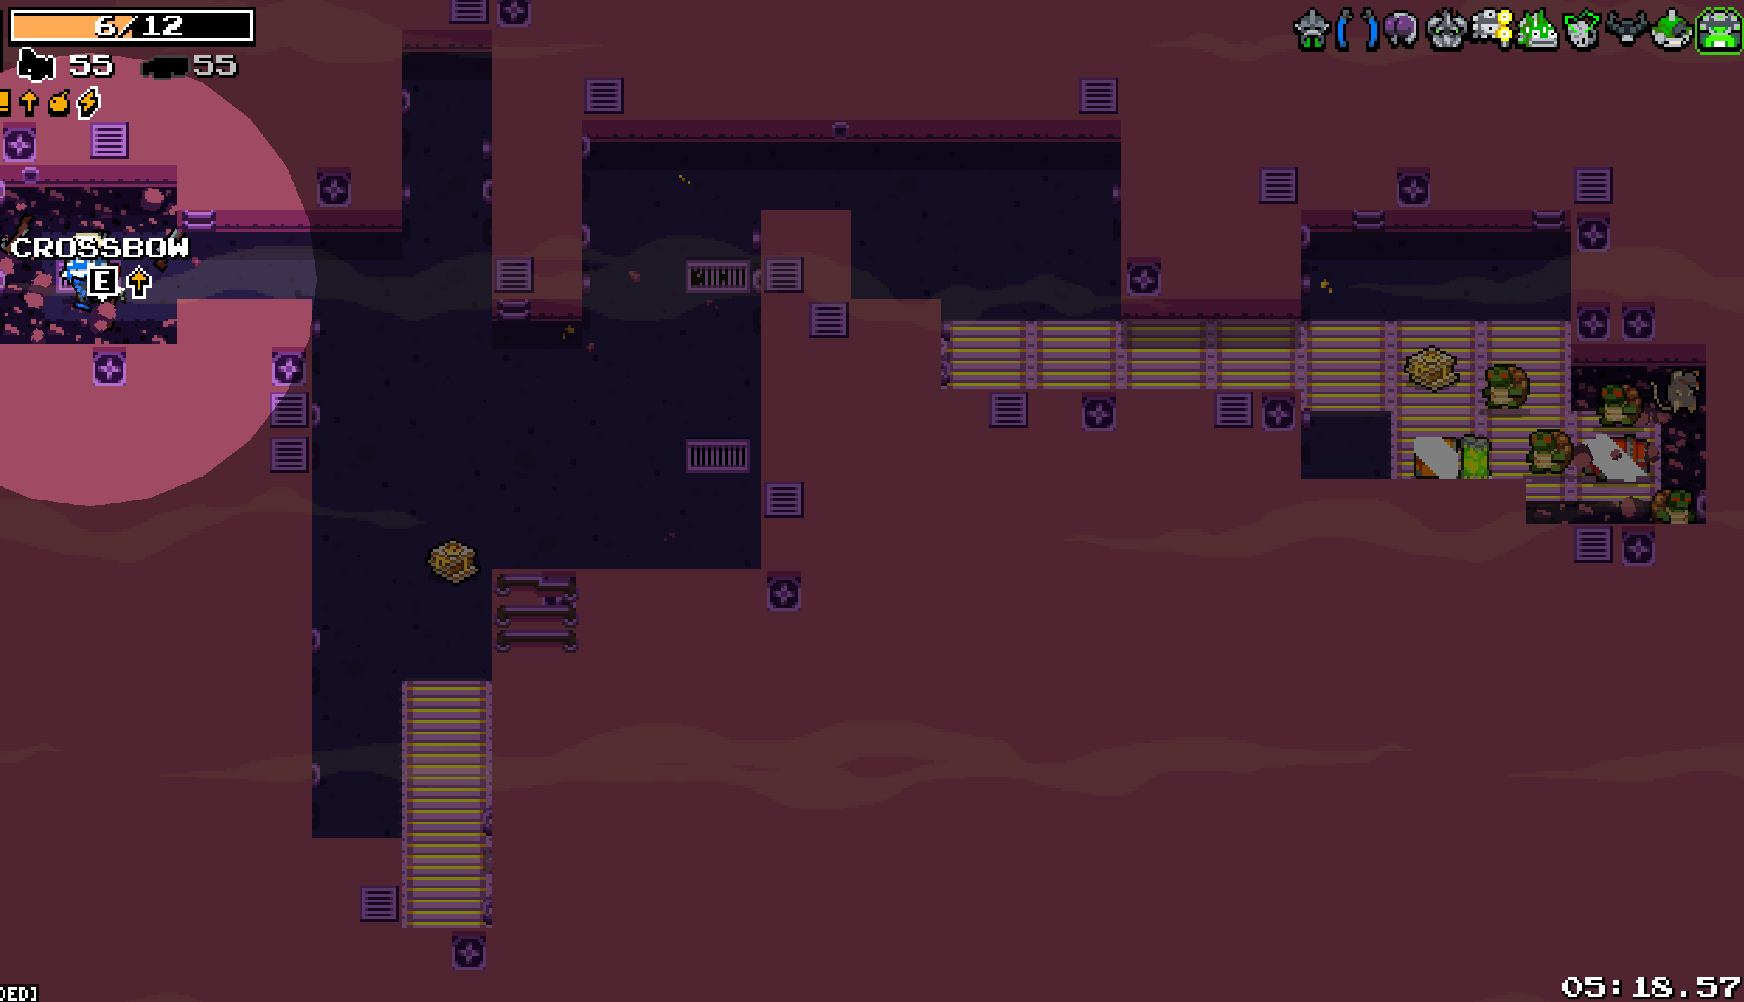
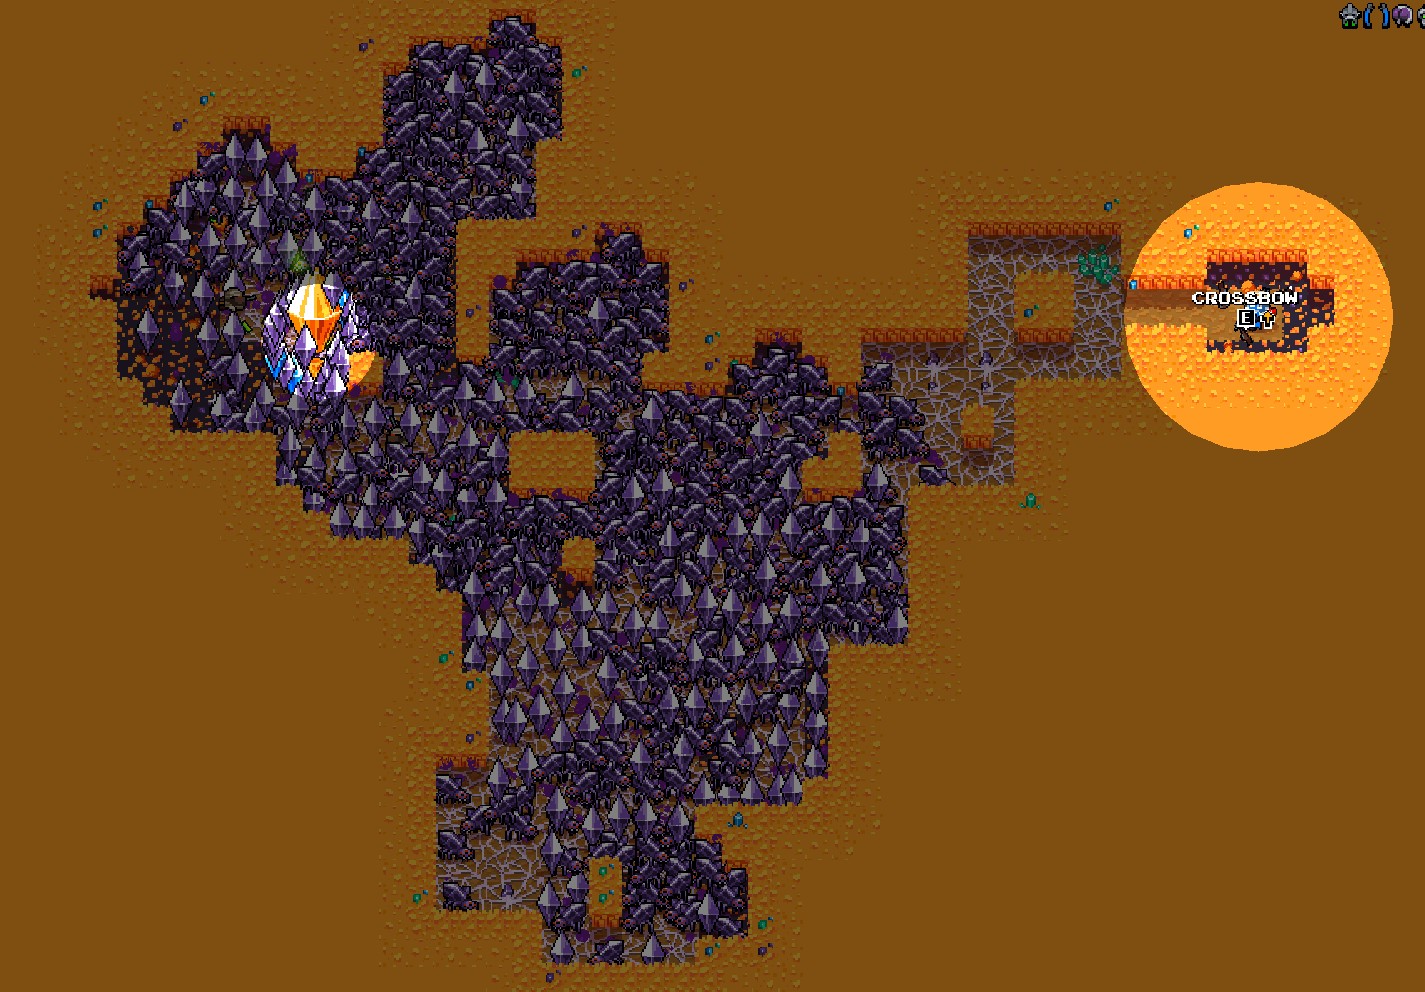
Cursed Caves strategy
Entering CCC: Seeing this area in deeploop is particularly rare as it requires bringing in a cursed weapon, while ushov and SPC are needed for functional meta. One strategy is to leave cursed chests unopened (between 1-1 and 3-3) until the level is fully cleared out, and then swapping both weapons for other ones to re-add the meta weapons to the drop pool, and then open the cursed chest. This gives cursed chests a ~2% chance to see either cursed weapon.
CCC can be visited multiple loops in a row if a cursed chest spawns on 7-3. After defeating The Throne, swap out the cursed meta wep with whatever is in the chest, and then the loop portal will uncurse the unwanted weapon. On 0-1 the meta wep will still be cursed and can be picked back up.
(If SPC is the cursed weapon, be aware this may largely prevents hotswapping.)
Text
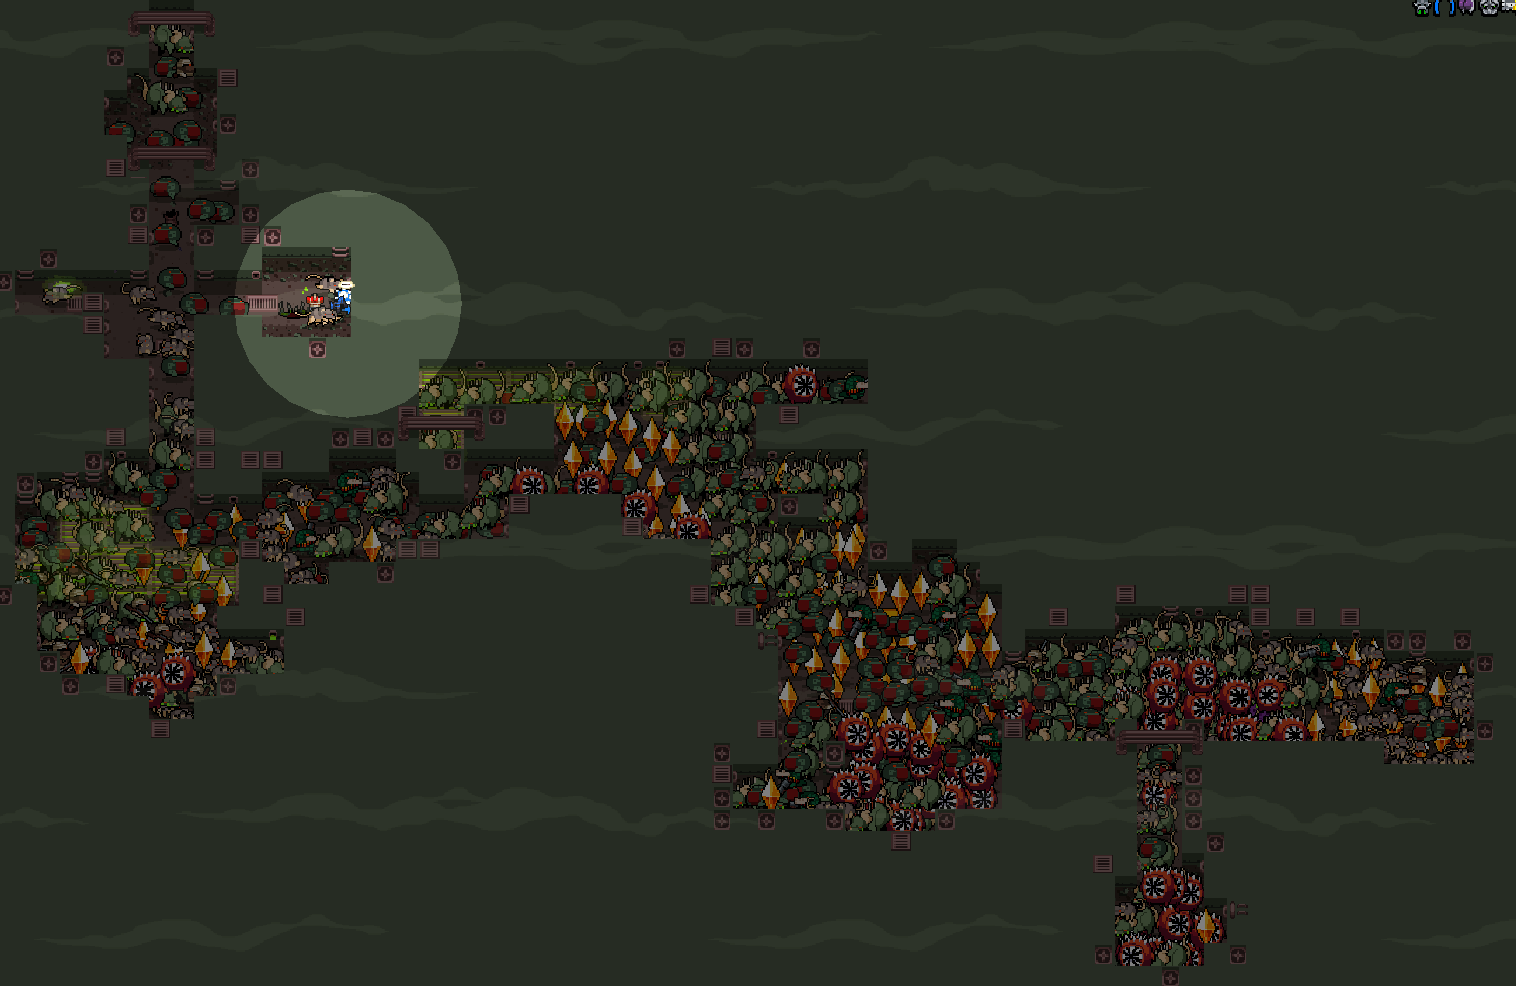
| 4-? A fully webbed CCC layout. Note Hyper Crystal being a light source, and it spawning the only Lightning Crystals. |
 |